How to Activate TuneFab VideOne OnlyFans Downloader
To help new users experience the full features of TuneFab VideOne OnlyFans Downloader, a free trial is available. During this trial, you can explore the downloading functions, but with certain limitations:
- You can only download the first 5 minutes of each OnlyFans video.
- The free trial lasts for 14 days. Once it expires, downloading features will be disabled unless you upgrade to the registered version.
If you’re satisfied with the free trial, you can easily purchase a license key and activate the software to unlock all features. Here’s a step-by-step guide on how to do it.
Step 1. Buy a License Key
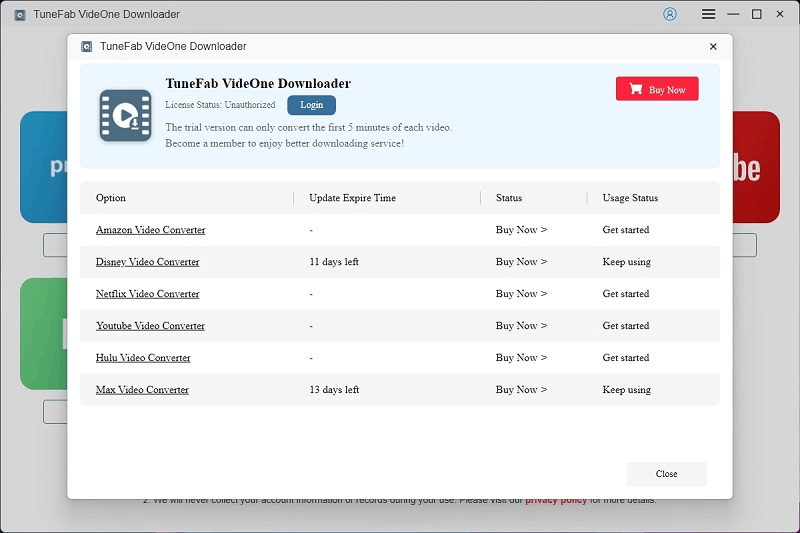
To activate the full version of TuneFab VideOne OnlyFans Downloader, you’ll first need to purchase a license key. After installing and launching the software, a registration window will pop up automatically, prompting you to activate the software. In this window, click the “Buy Now” button, which will redirect you to the official TuneFab online store.
At the TuneFab store, you’ll find several subscription plans to choose from, including a monthly plan, an annual plan, and a lifetime license for permanent access. Complete the payment process, and shortly after, you’ll receive an email with your license key. This email will also include instructions on how to activate the software.
Step 2. Activate TuneFab VideOne OnlyFans Downloader
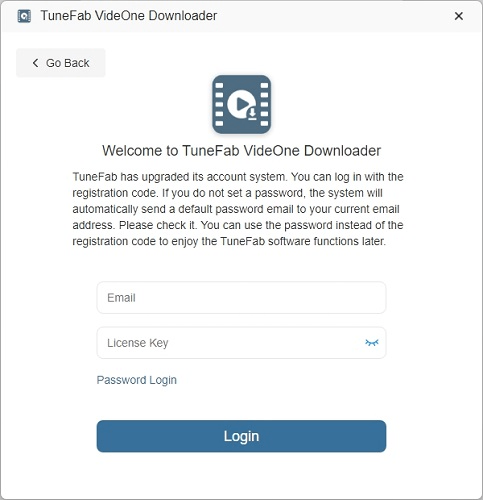
Once you’ve received your license key, return to the software. If the registration window isn’t open, click the “Register” or “Activate” button in the top-right corner. Select “License Key Login”, then enter your email address (the one used during purchase) and license key.
Click “Activate”, and the software will verify your key online. Within a few seconds, you’ll receive a confirmation message indicating that the activation was successful.
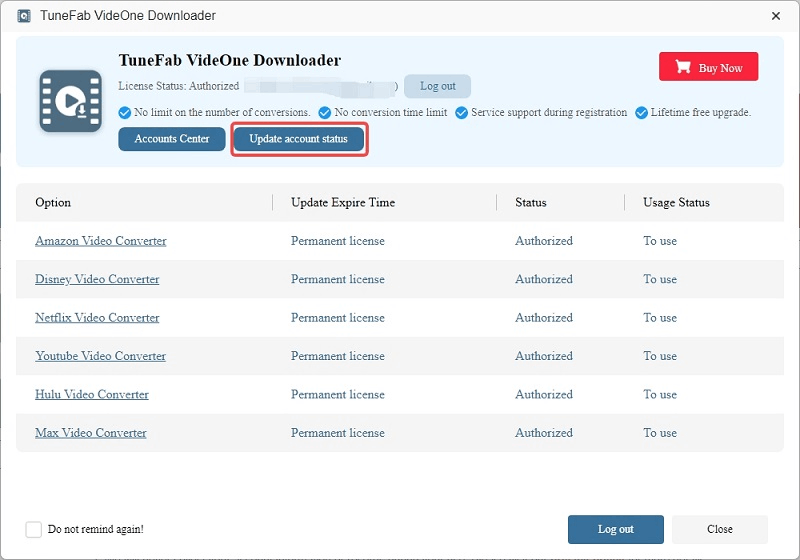
 Note: If you’ve previously created a TuneFab account, you can simply log in with your existing credentials. After completing your license purchase, click the “Update Account Status” button in the registration window to refresh your subscription. This will automatically activate the software without the need to manually enter your license key.
How to Download OnlyFans Videos to MP4/MKV/MOV
Downloading your favorite OnlyFans videos to your computer in high-quality formats like MP4, MKV, or MOV is easy with TuneFab VideOne OnlyFans Downloader. Here’s how to get started:
Step 1. Select OnlyFans Service
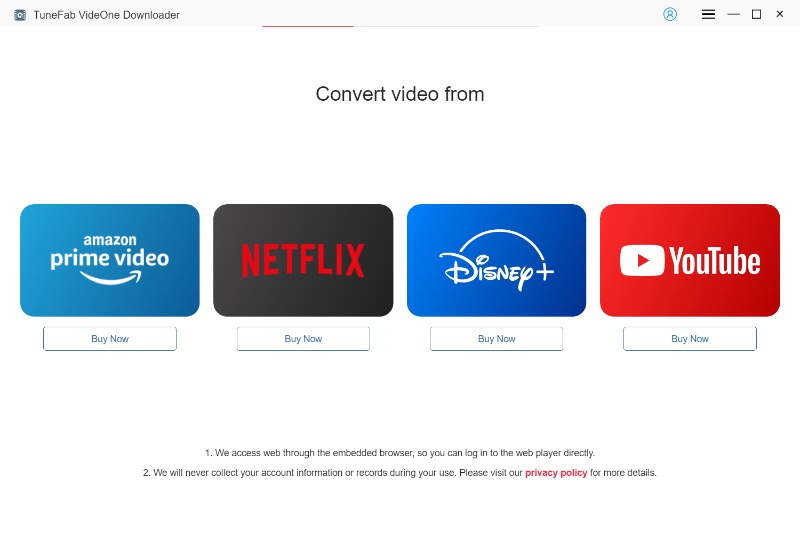
When you launch TuneFab VideOne OnlyFans Downloader, you’ll be presented with a list of platforms. Select OnlyFans from the available services to begin downloading content from the platform.
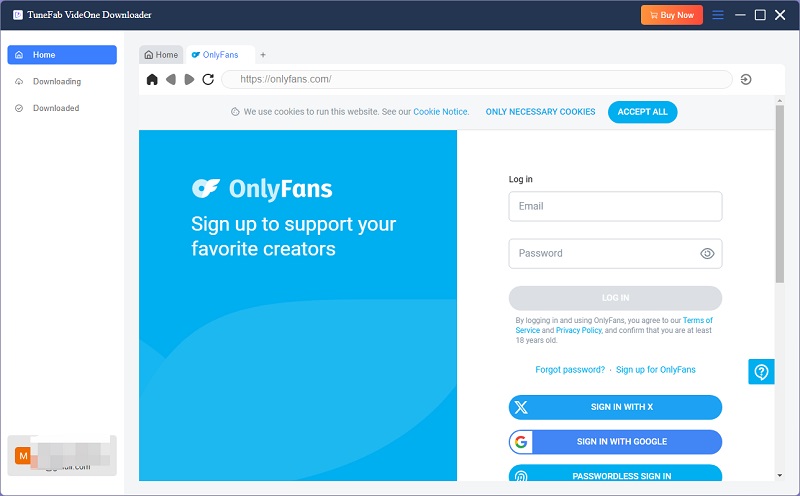
Step 2. Log into OnlyFans Account
To access and download videos, you’ll need to log in to your OnlyFans account. Click on the “Log In” button and enter your credentials. Once you’ve signed in, you’ll be able to browse your OnlyFans feed and select the videos you wish to download.
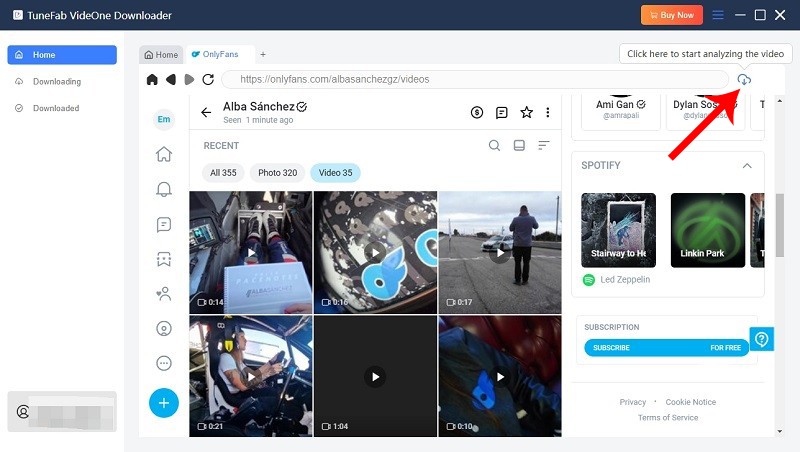
Step 3. Add Videos to the Download List
Open the video you want to download, hit the download button next to the address bar on the upper right.
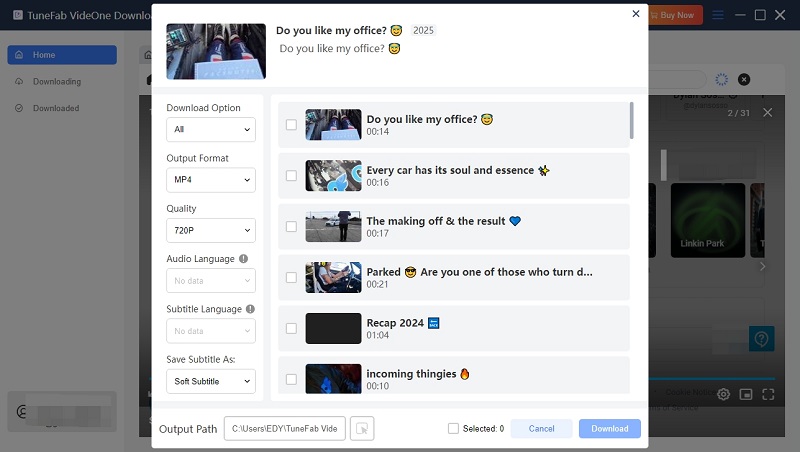
Step 4. Choose Output Format and Quality
A pop up window will appear after the video is parsed. You can customize the video’s format (MP4, MKV, or MOV) and quality here.
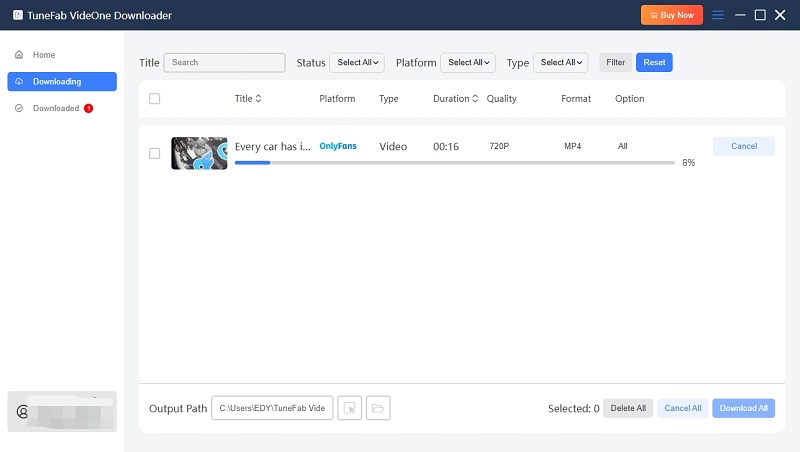
Step 5. Start Downloading Your Videos
Once you’ve set your preferred format and quality, select the video and click the “Download” button. The software will begin downloading all the videos in your queue. After the downloads are complete, head to the “Downloaded” section in the app.
You can easily access your saved videos by clicking on the “View Output File” button. Your downloaded videos are now ready to watch offline, in the format you chose.
How to Preset Output Settings
TuneFab VideOne Downloader also provides more customized settings for you to personalize the offline video streaming experience. To do it, simply navigate to “Menu” > “Preferences” to adjust the settings in the requirements. Here, you can preset various parameters, including output format, quality, and more. Select from the following options:
| Parameter | Options |
| Video Output Format | MP4, MKV, MOV |
| Audio Output Format | MP4, M4A, FLAC, WAV |
| Video Quality | Best, Medium, Low |
| Video Codec | AUTO, H264, H265 |
| Audio Language | Almost every language including English, Dutch, French, German, Italian, Chinese, Japanese, Korean, Portuguese, Russian, and Spanish (The languages available for download are actually determined by the original video). |
| Subtitle Language | Almost every language including English, Dutch, French, German, Italian, Chinese, Japanese, Korean, Portuguese, Russian, and Spanish (The languages available for download are actually determined by the original video). |
| Subtitle Type | Soft Subtitle, Hardcoded Subtitle, External Subtitle |
| Post-Download Options | None, Turn off the Computer, Turn the Computer to Sleep Mode, Exit the Program |
| Output File Name | Underscore, Title, Season Number, Episode Title, Episode Number, Released Date, Resolution, Language |
| Simultaneous Download | 1, 2, 3 |
| Proxy | Automatic, Manual, Disabled |
Difference among the 3 subtitle types:
- Hardcoded subtitles: which is also called burned-in subtitles. They are directly embedded into the video, and you can’t customize them like editing or turning them off. The subtitles will display regardless of what media players you use.
- Soft subtitles: which are encoded in videos but separated as different tracks. Such subtitles can be turned off whenever you want flexibly. But pay attention some media players may fail to detect soft subtitles and display them properly for you. Under such a condition, you will need to change to use another media player and try.
- External subtitles: which are saved as independent text files in extensions like .srt and .vtt. You will need to manually import the files to play the videos in a media player. As independent files, you can edit them, and toggle on and off in preferences. However, such files can be easily damaged or lost, and may fail to be compatible with some media players.
Tip: For media players that support soft and external subtitles, try using VLC, Media Player Classic-BE, or PotPlayer.